https://techwirepro.com/
Running your own Minecraft server is exciting. You get full control over your gaming world. You can play with friends anytime you want. The Minecraft plugboxlinux system makes this dream possible for everyone.
This guide will help you understand everything about server setup. You will learn step by step in simple language. No technical degree is needed here. Let’s start your server journey today.
What is Minecraft plugboxlinux?
The Minecraft plugboxlinux is a special Linux system. It helps you run Minecraft servers smoothly. This system works great on small computers. It uses very little power and memory.
Many gamers prefer Linux for game servers. Linux is free and reliable. It rarely crashes or causes problems. Your server stays online longer with Linux.
This particular system was built for efficiency. It runs well on older computers, too. You don’t need expensive hardware. A basic computer works just fine.
ALSO READ: bouncemediagroupcom social stat Review: Features, Benefits, and Limitations
Why Choose Linux for Your Minecraft Server?

Linux offers many benefits for gaming. First, it costs nothing to download. You save money compared to other systems. Second, Linux uses fewer computer resources.
Your Minecraft game runs faster on Linux. Players experience less lag during gameplay. The server handles more players at once. Everyone enjoys smoother gaming sessions.
Linux also provides better security features. Hackers find it harder to attack. Your world stays safer from unwanted visitors. Updates happen regularly and automatically.
Getting Your Computer Ready
Before installation, check your computer specs. You need at least 2GB of RAM. More RAM means better performance later. Your processor should be reasonably modern.
Make sure you have 10GB of free space. This space holds the server files. You also need an internet connection for downloads. A stable connection works best here.
Back up any important files first. Installation might delete existing data. Safety comes before everything else. Keep your personal files protected always.
Installing the System Step by Step
Download the Minecraft plugboxlinux installation file first. Visit the official website for downloads. Choose the correct version for your computer. Save the file to a USB drive.
Insert the USB into your computer. Restart your machine completely. Press the boot menu key during startup. This key varies by computer brand.
Select the USB drive from the options. The installation screen will appear next. Follow the on-screen instructions carefully. The process takes about 20 minutes.
Choose your language and keyboard layout. Create a username and a strong password. Write down your password somewhere safe. You will need it every time.
The system will install automatically now. Wait patiently until it finishes. Your computer will restart when done. Remove the USB drive after the restart.
ALSO READ: Tech wire Pro: Guide to Cutting-Edge Tech and Business Insights
Setting Up Java for Minecraft
Minecraft servers need Java to work. Java is a programming language. Most computers don’t have it installed. You must add it yourself first.
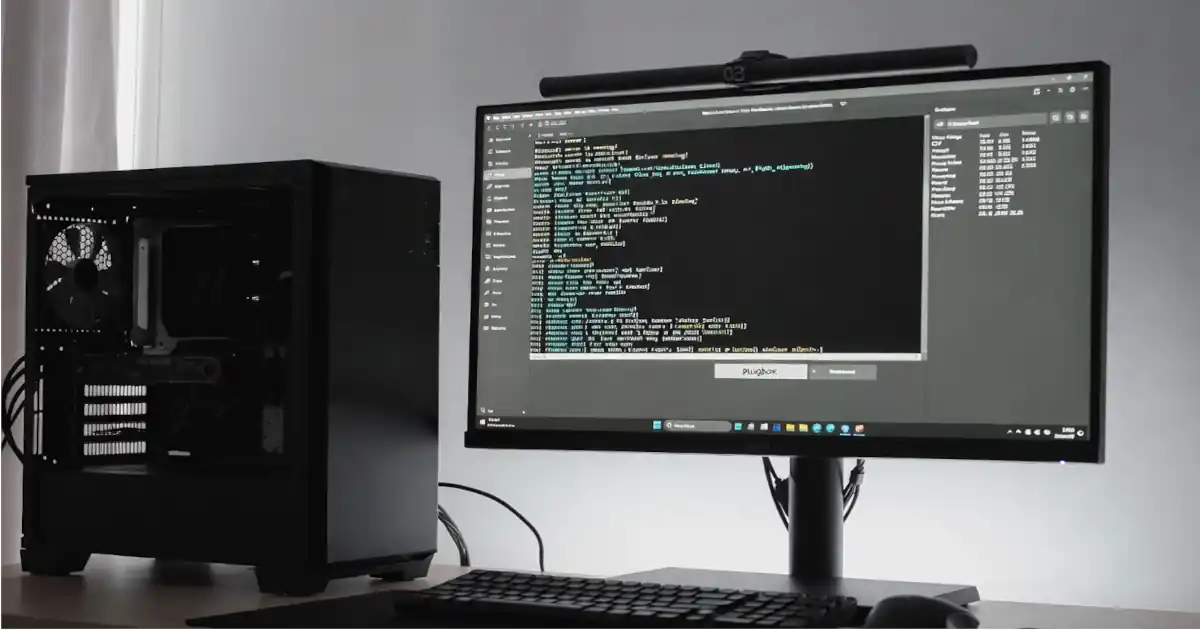
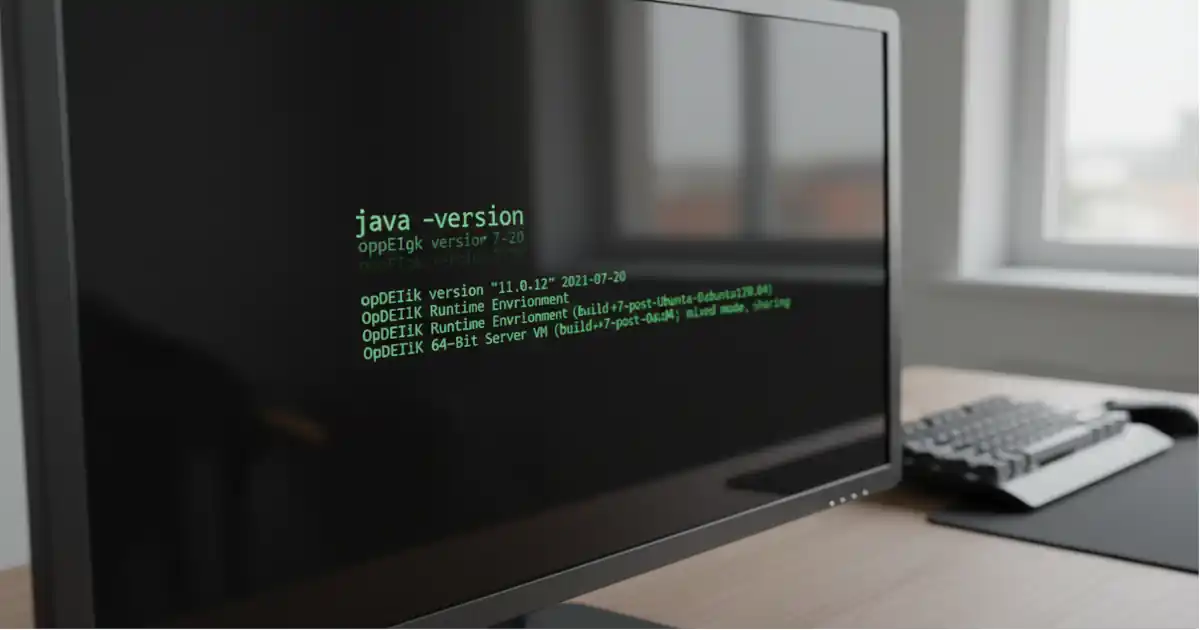
Open the terminal window on Linux. This looks like a black screen. Type the installation command for Java. Press Enter to start the process.
The system downloads Java files automatically. This might take several minutes, depending. Your internet speed affects download time. Wait until you see the completion message.
Check if Java is installed correctly afterwards. Type a simple check command. The version number should appear clearly. Now you’re ready for Minecraft files.
Downloading Minecraft Server Files
Visit the official Minecraft website next. Find the server download section there. Click on the latest server version. The file downloads to your computer.
Create a new folder for server files. Name it something simple like “MCServer”. Move the downloaded file into this folder. Organization helps you find things later.
The server file is a JAR file. It contains all the necessary game code. This file runs your entire server. Keep it safe and backed up.
Configuring Your Server Settings
Run the server file for the first time. It creates several new files automatically. One important file is called server.properties. This file controls your server settings.
Open server.properties with a text editor. You see many different options here. Each line controls something specific. Change settings to match your preferences.
Set your server name and description. Choose the game mode you prefer. Decide if you want monsters enabled. Pick the difficulty level for players.
The server port is usually 25565. Most people keep this default number. Change it only if necessary. Write down any changes you make.
Accepting the Server Agreement
Minecraft requires you to accept its rules. Find the file named eula.txt. Open this file in your editor. Change “false” to “true” inside it.
This action means you agree. You promise to follow Minecraft guidelines. Without this step, nothing works properly. The server won’t start at all.
Save the file after making changes. Close the text editor window. Now your server knows you agreed. This happens only once ever.
Starting Your Server Successfully
Return to your server folder now. Rerun the server JAR file. The terminal shows loading messages appearing. World generation begins at this point.
Creating a new world takes time. The system builds terrain and features. You see percentage numbers increasing slowly. Don’t close anything during this process.
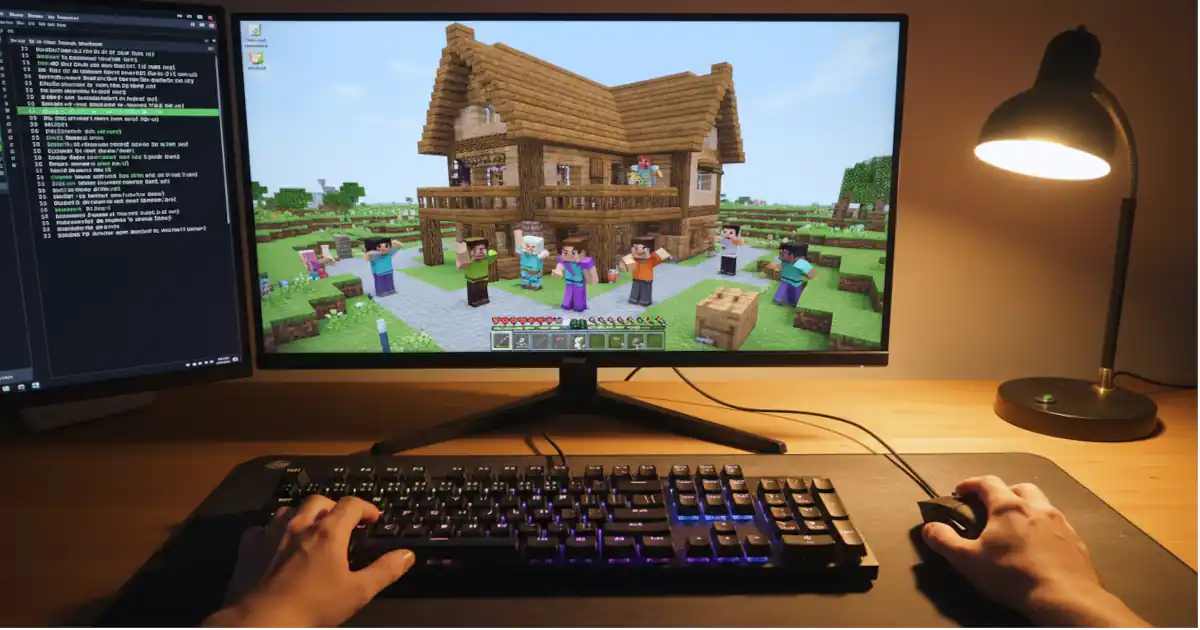
When loading completes, you see “Done”. Your server is now running perfectly. Players can connect and join now. You successfully created a working server.
ALSO READ: Potomac Tech Wire DC’s Most Powerful Tech News Source in 2025–2026
Connecting Players to Your Game
Share your server IP address with friends. They need this to join you. Find your IP through simple commands. Type it in the terminal window.
Friends open their Minecraft game next. They click on the multiplayer option there. Then they select the “Add Server” button. They type your IP address carefully.
Your server appears in their list. They can join with one click. Everyone plays together in your world. The Minecraft plugboxlinux handles everything smoothly.
Managing Server Performance Well
Monitor your server’s resource usage regularly. Too many players cause lag sometimes. The system shows memory and CPU use. Keep these numbers below 80 percent.
Adjust server settings if problems occur. Reduce view distance for better performance. Limit the number of simultaneous players. These changes improve gameplay speed significantly.
Restart your server every few days. This clears temporary memory buildup. Players won’t lose their progress ever. The world saves automatically and frequently.
Adding Plugins for Extra Features
Plugins add cool new features easily. They enhance basic Minecraft gameplay significantly. Download plugins from trusted websites only. Untrusted sources might contain viruses.
The Minecraft plugboxlinux supports many popular plugins. Create a plugins folder first. Place downloaded files inside this folder. Restart the server to activate them.
Common plugins include economy systems and minigames. Some add new items or creatures. Others provide admin control tools. Choose what fits your server style.
ALSO READ: TechNews TW: Taiwan’s Cutting-Edge Innovations in 2026
Keeping Your Server Secure
Security protects your hard work always. Set up a strong admin password. Change it every few months regularly. Never share it with untrusted people.
Enable whitelist mode for added safety. Only approved players can join then. This prevents random strangers from entering. Your world stays peaceful and controlled.
Update your system and software regularly. Updates fix security problems quickly. They also add new features sometimes. Always use the latest versions available.
Backing Up Your World
Backups save you from disaster situations. Computer crashes happen to everyone eventually. Without backups, you lose everything completely. Create backups at least weekly.
Copy your entire server folder somewhere safe. Use external drives or cloud storage. Multiple backup locations work even better. More copies mean better safety overall.
Test your backups occasionally, too. Make sure they actually work properly. Restore a backup to verify it. This practice saves stress later on.
Troubleshooting Common Problems
Sometimes the server won’t start correctly. Check the error messages inthe terminal. These messages explain what went wrong. Most problems have simple solutions available.
Connection issues happen frequently for beginners. Check your firewall settings first, always. The firewall might block Minecraft traffic. Allow port 25565 through your firewall.
Lag problems frustrate players the most. Reduce your view distance settings first. Remove unnecessary plugins you don’t use. Upgrade your RAM if possible later.
Growing Your Server Community
Start small with just close friends. Add more people slowly over time. A good community takes patience to build. Quality matters more than quantity here.
Create simple rules for everyone to follow. Post these rules where visible always. Fair rules make happy players consistently. Enforce rules equally for everyone participating.
Listen to player feedback and suggestions. They know what they enjoy most. Make changes based on popular requests. Your server improves through community input.
Conclusion
Setting up Minecraft plugboxlinux opens amazing possibilities. You now have complete control over gaming. Friends can join your world anytime. The process is simpler than it seems.
Start with basic settings and learn gradually. Add features as you gain confidence. Your server grows along with you. Soon you’ll run an amazing community.
Remember to maintain your server regularly. Keep backups and update software often. Security and performance need constant attention. Your effort creates wonderful gaming experiences.
The Minecraft plugboxlinux system makes hosting accessible. Anyone can run their own server now. You don’t need expert computer knowledge. Just follow these steps carefully and patiently.
Your Minecraft adventure starts right here. Build amazing worlds with your friends. Create memories that last forever. Happy gaming and server hosting adventures.
Read more knowledgeable blogs on: techwirepro.com