
https://techwirepro.com/
Cooking Falotani
Falotani represents a cherished culinary tradition that brings families together. This delicious dish carries deep cultural roots and offers incredible flavours. Many home cooks want to master this recipe. Today, you’ll learn everything needed to create this wonderful meal.
Understanding the Basics of Falotani
Falotani has been passed down through generations. The dish combines simple ingredients with careful preparation. Each region adds its own special touch to the recipe. The beauty of this dish lies in its versatility. You can adjust spices to match your taste preferences. The cooking process requires patience but rewards you with amazing results. Fresh ingredients make all the difference in the final product. Quality matters when selecting your components. Your effort in choosing good ingredients will shine through.
ALSO READ: Veraperformsanexorcism: A Deep Look Into Spiritual Cleansing Rituals
Gathering Your Essential Ingredients
Start with the main base ingredients for your dish. You’ll need flour, water, and salt as foundations. These form the structure of your creation. Spices bring the dish to life with vibrant flavours. Common choices include cumin, coriander, and black pepper. Garlic and onions add depth and aroma. Fresh herbs elevate the taste to new heights. Parsley, cilantro, or mint work wonderfully here. Choose herbs that suit your family’s preferences.
Protein options can vary based on dietary needs. Chicken, lamb, or vegetables all work beautifully. Select what fits your meal planning goals. Don’t forget about cooking oils or fats. Olive oil or butter adds richness and helps with cooking. These prevent sticking and enhance overall flavour.
Preparing Your Workspace and Tools
A clean, organized kitchen makes the process smoother. Clear your counter space before you begin. This prevents confusion during busy cooking moments. Gather all necessary tools before starting your work. You’ll need mixing bowls, measuring cups, and a good knife. A cutting board and spatula are essential, too. Sharp knives make ingredient preparation much easier and safer. Dull knives cause more accidents than sharp ones. Take time to properly sharpen your tools. Measuring accurately ensures consistent results every time you cook. Use proper measuring cups for dry and wet ingredients. This attention to detail pays off significantly.
Step-by-Step Preparation Process
Begin by preparing all your ingredients first. This method, called mise en place, saves time later. Chop vegetables, measure spices, and portion proteins now. Wash and dry fresh herbs thoroughly before use. Pat them dry with clean paper towels. This prevents excess moisture in your dish. If using meat, cut it into even pieces. Uniform sizes ensure everything cooks at the same rate. Season the meat lightly with salt and pepper.
Mix your dry ingredients in a large bowl. Combine flour with a pinch of salt thoroughly. This ensures even distribution throughout the mixture. Prepare any dough components ahead of cooking time. Let the dough rest as needed for a better texture. Resting develops gluten and improves the final result.
ALSO READ: Information About Foxtpax Software: Your Easy Guide
Mastering the Cooking Technique
Heat your cooking vessel over medium heat first. Allow pans to warm properly before adding ingredients. This prevents food from sticking to surfaces. Add oil or butter once the pan reaches the proper temperature. The fat should shimmer but not smoke excessively. Watch carefully to avoid burning. Cooking falotani requires attention to timing and heat control. Monitor the temperature throughout the entire process. Adjust the heat up or down as needed.
Place ingredients in the pan without overcrowding the space. Overcrowding causes steaming instead of proper cooking. Work in batches if your pan is small. Listen for the right sizzling sounds during preparation. A gentle sizzle indicates proper cooking temperature. Too quiet means too cool; too loud means too hot. Stir or flip ingredients at appropriate intervals only. Constant stirring prevents proper browning and texture development. Let food sit undisturbed when needed.
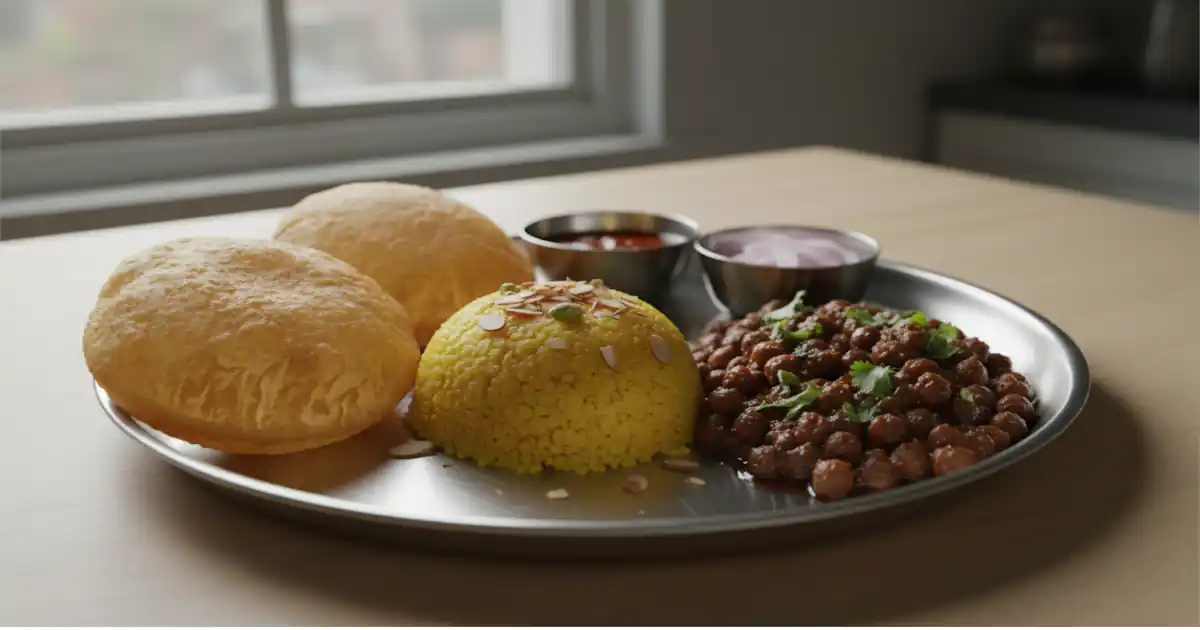
Achieving Perfect Texture and Flavour and what falotani look like
The texture should be tender but not mushy. Test doneness by checking the firmest pieces first. Insert a fork to gauge tenderness accurately. Seasoning should happen in layers throughout the process. Add some spices early and others near the end. This creates complex, well-developed flavours. Taste your creation as you progress through cooking. Adjust the seasonings gradually based on your personal preferences. Remember, you can always add more later.
Balance is key when working with strong spices. Too much of any single spice overwhelms other flavours. Start with less and build up slowly. Fresh herbs should be added near the end. Heat destroys delicate herb flavours if added too early. Reserve some herbs for final garnishing, too.
Timing Your Cooking Perfectly
Different components require different cooking durations. Harder vegetables need more time than soft ones. Plan your additions accordingly for even cooking. Most preparations take between thirty and forty-five minutes total. This includes both preparation and active cooking time. Plan your schedule around this timeframe.
Use a kitchen timer to track important cooking stages. This prevents overcooking or forgetting crucial steps. Set multiple timers if working with several components. Watch for visual cues that clearly indicate doneness. Golden-brown colors often signal proper cooking completion. Trust your eyes along with your timers.
Troubleshooting Common Challenges
Sometimes the mixture seems too dry during preparation. Add small amounts of liquid gradually to fix this. Too much liquid at once creates other problems. If flavours taste flat or boring, add acidity. A squeeze of lemon juice brightens everything up quickly. Vinegar works well for this purpose, too. Burnt spots happen even to experienced home cooks. Lower your heat immediately if you smell burning. Remove the dish from the heat to assess damage.
Undercooked food needs more time and possibly more liquid. Add a splash of water or broth carefully. Cover the pot to trap steam and heat. Overly salty dishes can be balanced with sweetness. A pinch of sugar or honey helps counteract saltiness. Dairy products also help absorb excess salt.
ALSO READ: The Complete Guide to elgoog 3d printer: Everything You Need to Know
Serving Your Masterpiece with Style

Presentation makes your hard work look even more appealing. Arrange food thoughtfully on clean, attractive plates. Wipe any spills from plate edges neatly. Garnish with fresh herbs just before serving guests arrive. This adds color, freshness, and visual appeal instantly. Don’t overdo the garnishing, though.
Serve hot food on warmed plates when possible. Cold plates cool down hot food too quickly. Warm plates in a low oven briefly. Pair your creation with complementary side dishes thoughtfully. Fresh salads, rice, or bread all work wonderfully. Consider your guests’ dietary preferences when planning.
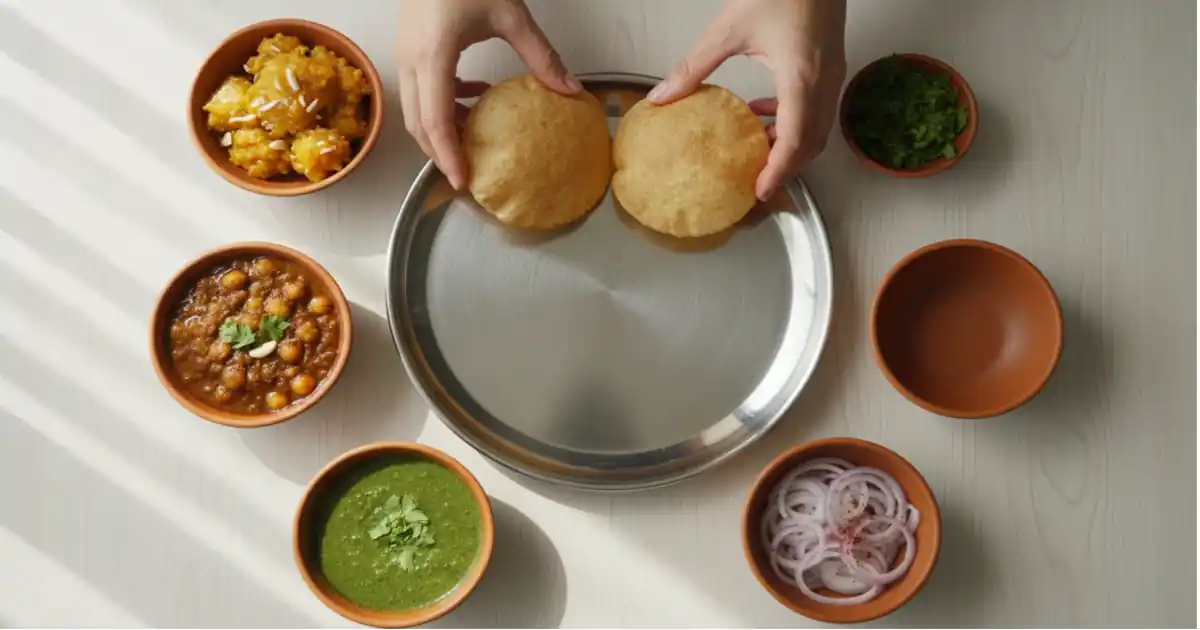
Traditional Accompaniments and Pairings
Many people enjoy yogurt-based sauces alongside this dish. Cucumber yogurt sauce provides a cooling contrast to spices. Mix plain yogurt with diced cucumber and mint. Fresh flatbreads make excellent companions for scooping up food. Warm the bread slightly before serving if possible.
This makes it more pliable and inviting. Simple rice pilaf complements the main dish beautifully. Cook rice with butter and a bay leaf. This adds subtle flavour without overwhelming anything. Fresh vegetable salads provide crisp texture contrast nicely. Tomatoes, cucumbers, and onions work particularly well together. Dress lightly with olive oil and lemon.
ALSO READ: How to Clear Teams Cache on iPhone: A Simple Step-by-Step Guide
Storage and Leftover Tips
Cool leftovers completely before storing them in containers. Hot food creates condensation that promotes bacterial growth. Wait at least thirty minutes after cooking. Store in airtight containers in the refrigerator promptly. Properly stored food lasts three to four days safely. Label containers with dates for easy tracking. Cooking falotani fresh tastes best, but leftovers have merit too.
Flavours often deepen and improve after a day. Many people prefer day-old versions. Reheat gently over low heat to preserve texture. Add a splash of water or broth if needed. Avoid high heat, which dries everything out. Freeze portions in meal-sized containers for convenient future meals. Frozen food keeps well for up to three months. Thaw overnight in the refrigerator before reheating.
Making It Your Own
Don’t be afraid to experiment with different ingredients. Cooking falotani allows for creative personal touches and variations. Every cook develops their own signature version eventually. Try different protein sources to change things up regularly. Seafood, tofu, or chickpeas all work as alternatives. Each brings unique flavours and textures to explore. Regional spice blends add interesting cultural twists to recipes. Explore Middle Eastern, Mediterranean, or Asian spice combinations thoughtfully. Research authentic spice ratios for best results. Adjust heat levels to match your family’s preferences exactly. Some people love fiery spice while others prefer mild flavours. Both approaches are equally valid and delicious.
Health and Nutritional Considerations
This dish can fit into various dietary plans easily. Use lean proteins and plenty of vegetables for healthier versions. Reduce oil amounts to lower overall calorie content. Whole grain options provide more fiber and nutrients overall. Replace white flour with whole wheat when making dough. This simple swap boosts nutritional value significantly. Fresh vegetables add vitamins, minerals, and beneficial fiber naturally. Load up on colorful vegetables for maximum health benefits. Different colors provide different nutritional advantages. Control sodium levels by using less salt overall. Herbs and spices provide flavour without added sodium. Experiment with salt-free seasoning blends, too.
Conclusion: Your Journey Begins Now
Cooking falotani brings joy to both cook and diners alike. The process connects you to rich culinary traditions worldwide. Each time you prepare this dish, your skills improve. Start with basic recipes before attempting complex variations confidently. Master fundamental techniques first for consistent success rates. Build your confidence gradually through repeated practice.
Share your creations with family and friends generously, always. Food brings people together in meaningful, memorable ways. These shared meals create lasting happy memories. Remember that every expert cook started as a beginner once. Mistakes teach valuable lessons that improve future cooking attempts. Embrace the learning process with patience and enthusiasm. Your kitchen adventures await with endless possibilities ahead. Gather your ingredients, fire up your stove, and begin. The wonderful world of traditional cooking welcomes you warmly.
FAQs About Cooking Falotani
How long does it take to prepare and cook falotani?
The total time typically ranges from 30 to 45 minutes from start to finish. Preparation takes about 15 minutes, including chopping vegetables and measuring ingredients. Active cooking time is usually 20 to 30 minutes, depending on your chosen method.
Can I make falotani ahead of time for meal prep?
Yes, falotani works wonderfully for meal preparation and advance cooking sessions. Store cooled portions in airtight containers in the refrigerator for 3-4 days safely. The flavours often improve after a day, making it even more delicious when reheated.
What are the best substitutes if I’m missing key ingredients?
Most spices can be substituted with similar flavour profiles without major issues. For proteins, you can easily swap chicken with lamb, beef, or plant-based alternatives. If you lack specific herbs, use what’s available or dried versions at half the quantity.
Is falotani suitable for special dietary requirements like vegetarian or gluten-free?
Absolutely, falotani adapts easily to various dietary needs and preferences with simple modifications. Replace meat with chickpeas, tofu, or extra vegetables for vegetarian or vegan versions. Use gluten-free flour alternatives if making dough components for those with gluten sensitivities.
Read more knowledgeable blogs on: techwirepro.com